
Automations!
Automated emails allow you to reach out to new contacts when they've been added to a group, without you needing to manually do it each time. This is ideal for situations where contacts are added to NewZapp through a Sign Up Form as that can happen at any time of day!
Where to start.
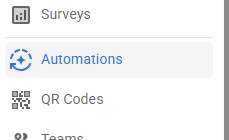
You can find Automations on menu on the left hand side of the screen.
Then you'll be in your Automations dashboard where you will see all of your active and draft automations. Along with the name, which Group the automation is linked to and the Triggers you've chosen for the email to be sent by.
To Create a new one, you select 'New Automation' in the top right side.

Give your automation a name; if you're setting up an Automation that welcomes new employees if your account is for internal comms, you might want to call this 'New Employees - Welcome Email'.
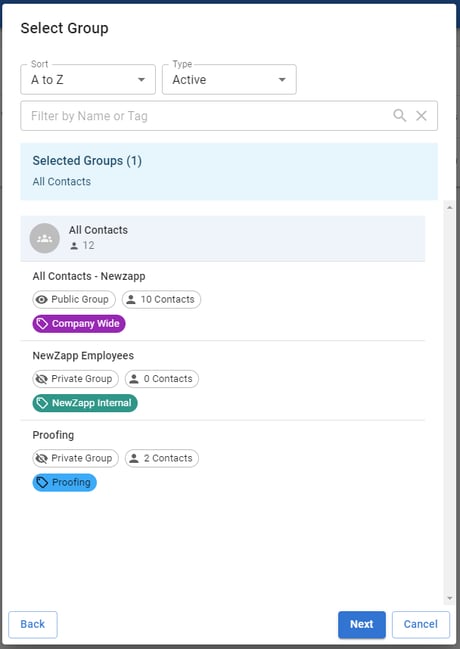
Choose the Group that you'd like the Automation to be linked to.
You will then have 4 triggers to choose from:

This is multiple choice, you can have all triggers if this was wanted.
For mine I'm going to choose Manually added Contact and Import of Contacts in NewZapp.
Select 'Create New Automation'.

This will then bring you to this new automations dashboard, where you can see from the above, mine is a draft with 0 emails associated to it.
To create an email to link to this, you'll select 'New Email' from the bottom right.
This will take you through to Choose a Template, if you have a Bespoke Templates, they will appear near the top and then you have several Free options to choose from.
Once you have chosen a template, you'll be presented with the following box.

You will need to name this email, which is for platform purposes, this is not the subject of the email.
Choosing a delay for the email once the automation has been triggered, this could be Hours or Days by toggling the Unit field.
For mine we'll go with 2 hours after this has been triggered so that it's fresh in the inbox for the new starter.
Select 'Create Email'.
The NewZapp Editor will open up and you can design your email.
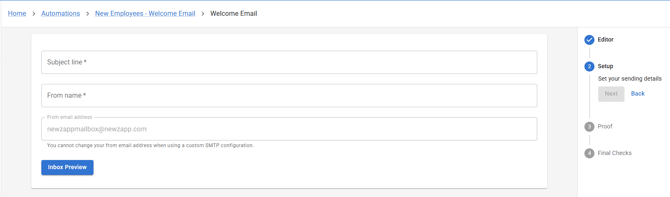
Once you're happy with your email design and the content, click Next and you'll then be brought through to the Finalising Wizard for the Automation Email. You'll need to enter a Subject Line, the email from name and the email address the email will appear to be sent from.
Like with creating a regular email, you'll have the opportunity to send as many Proofs as you may need until you're ready to save.
You then have the Final Checks which is the last step before you Save the email.
We then will be brought back to the Automation Dashboard.
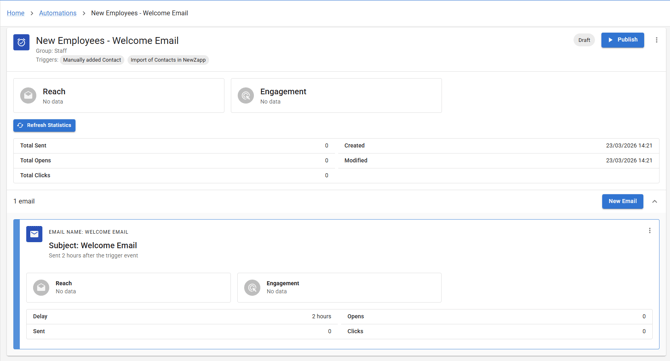
We now have an email assigned to our Automation.
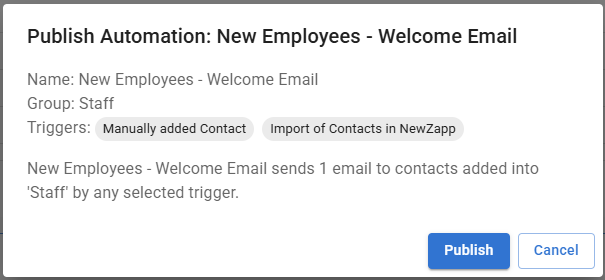
Above you can see the email subject, the Trigger length, then further above in the screenshot you can see the name of the Automation, the Group the automation is assigned to and we also have the Triggers for the email.
If you are ready to Publish, you can then press the Blue 'Publish' button in the top right corner. You'll then get a brief summary for you to check before you confirm.
Once it's been published you'll be able to see that it's active and running in the top right of the screen.
 If you need to make any changes to your automation, you'll need to start by pausing it with the big Pause button in the top right of the screen. The pause button then becomes a publish buitton and if you click the 3 dots next to it you can edit your automation.
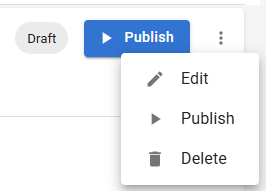
While the automation is paused, there will be no active triggers on this group, so no new contacts added during this time will get the automated email.
To learn more about creating Automations, click here!